
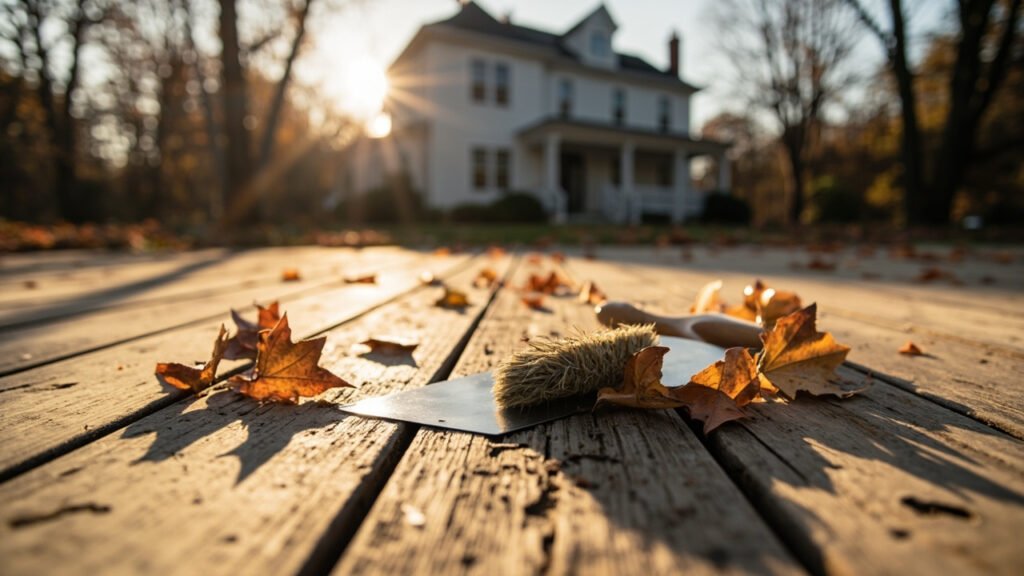
A deck in Greater Boston spends months under snow, meltwater, and freeze-thaw cycles, and then it is expected to come back in spring looking the way it did in October. Winterizing is what happens in between those two pictures. It is not one job, and it is not just throwing a tarp over the boards. It is a short round of preparation — clearing the paths water takes, checking the metal that holds the deck together, and getting everything off the surface that would trap moisture all winter.
Done before the first sustained freeze, this work is mostly inspection and clearing, not construction. Done after the snow arrives, most of it has to wait until spring, when the damage it would have prevented is already visible. This guide walks through the sequence in the order that makes sense: drainage first, hardware second, furniture and covers last.
Start With Drainage: Give Meltwater Somewhere to Go
Winter damage on a deck usually starts as standing water. Snow melts on a sunny afternoon, the water has nowhere to go, and that night it freezes again — in the seams between boards, under a planter, or against the house wall. Repeated all winter, that freeze-thaw rhythm pries at boards, loosens fasteners, and keeps the framing wet far longer than rain alone ever would.
So the first winterizing job is to make sure water can leave the deck:
- Clear the gaps between boards. Leaves, pine needles, and grit pack into the seams through October and November. A clogged seam is not a drain anymore; it is a sponge that holds meltwater against the board edges and the joist tops all winter. Walk the deck with a putty knife or a stiff hook and clear every seam until water falls through freely.
- Clear the ground and the space below. Leaves piled under the deck hold damp against posts and footings. Rake them out, and check that downspouts and grading nearby are not sending roof water straight onto the deck or against the ledger line.
- Look at the ledger line. The joint where the deck meets the house is the one place a winter leak does the most damage, because it is hidden and it stays wet. Clear debris from the flashing line and look for leaves or dirt bridging over it. If the flashing itself looks damaged or pulled away, that is a repair to arrange before winter, not a winterizing chore to improvise around.
If the deck is wood, this drainage pass doubles as the last inspection of the season for soft spots along board edges and joist tops — the places rot starts. Mark anything soft with a piece of tape so it is easy to find again in spring.
Check the Hardware Before the Melt Season Starts
Here is a step that is easy to skip, and it is the one this guide is built around. Our earlier piece on what ice melt does to deck hardware traced the chain: the chloride salts in most ice melts bathe screws, joist hangers, post bases, and railing brackets in a corrosive solution every time treated snow melts across the deck, and because most of that hardware is hidden — under boards, inside hangers, behind brackets — the damage goes unnoticed until it shows up as staining, loosening, or red rust years earlier than it should have.
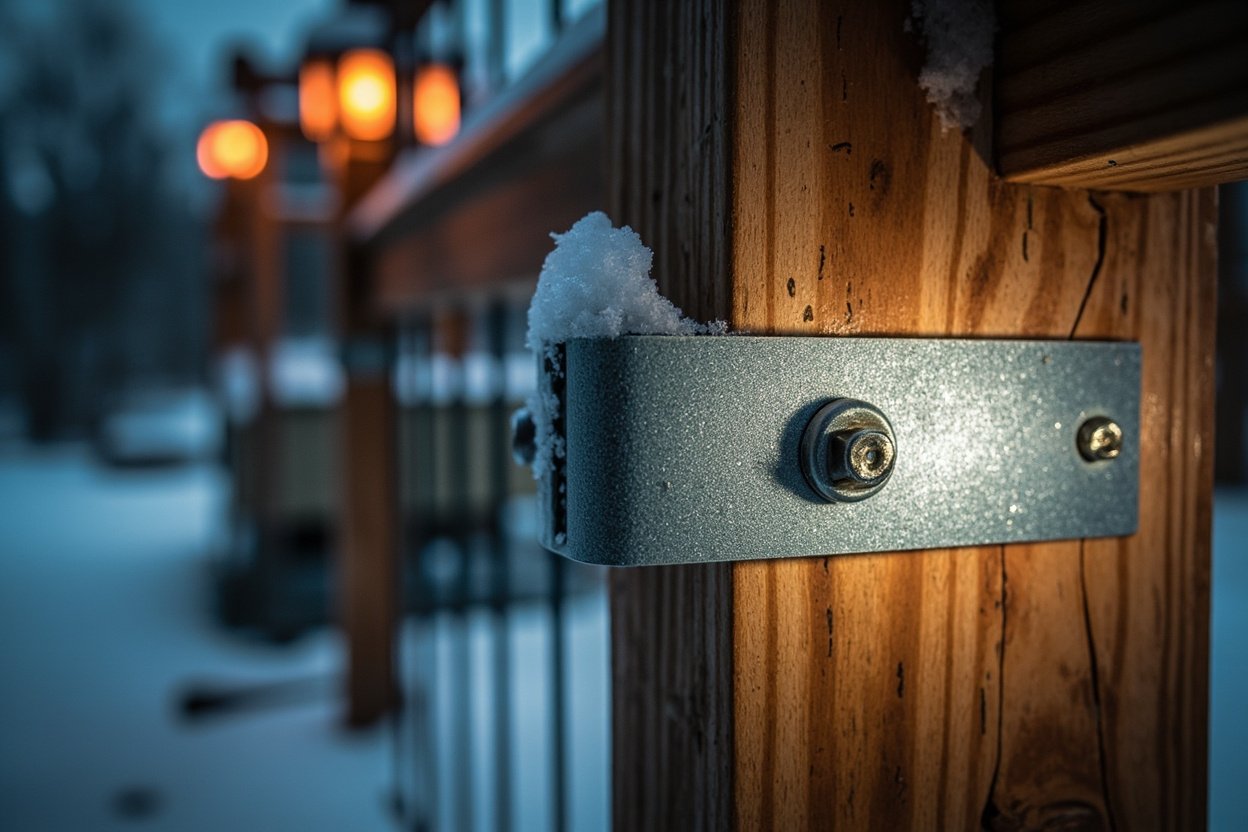
That chain has a practical consequence for winterizing: the inspection that matters most happens before the melt season, not after it. Before the first ice melt goes down, take a flashlight and look at the hardware you can reach — the exposed screws and brackets at railings and stairs, the post bases, the hangers visible from below. You are looking for three things: red rust, white or crusty residue from a previous season, and any fastener that has worked loose. Photograph anything you find, so you can compare it in spring and see whether the season made it worse.
Two decisions follow from that look. First, choose the de-icer with the hardware in mind, not just the walking surface: chloride salts are hard on metal even when they are gentler on the deck surface, so use any melt sparingly and keep it off the hardware where you can. Second, plan the spring rinse now, while you are thinking about it — once the melt season ends, a rinse of the post bases, the ledger line, and the railing brackets washes the season’s chloride residue off before the warm, wet months arrive. A second look in late winter into early spring shows what started over winter.
Furniture, Grills, and Planters: Lift Them or Store Them
Anything that sits on the deck all winter becomes a moisture trap. A planter left in place keeps the boards beneath it wet for months, and the soil in it freezes and thaws against the surface. A grill cover that sags collects meltwater and holds it against the boards. Even a stack of chairs can do it, if the legs sit in the same damp spot from December to March.
The rule is simple: if it can come off the deck, take it off. Store furniture, cushions, and grills in a garage or shed where they will stay dry. If a planter is too heavy to move, lift it onto feet or a stand so air can reach the boards underneath, and empty the soil if the planter will not be used again until spring. The same goes for door mats and outdoor rugs — they hold meltwater against the deck surface, and a deck that dries between storms lasts far longer than one that never dries.
To Cover or Not to Cover
Covering a deck for winter sounds protective, but a solid cover often does the opposite of what the owner intends. A tarp laid flat over the boards traps the moisture underneath it: meltwater seeps in at the edges, cannot evaporate, and then freezes and thaws against the surface for months. A deck left uncovered, by contrast, dries in the sun and the wind between storms — as long as its drainage paths are clear.
If you do cover, make it a breathable cover raised above the surface, with air able to move underneath, and check it after the first few storms to be sure it has not sagged into a pond. And never cover a deck to hide a problem: a cover over clogged gaps and rusting hardware only hides the damage until spring, when it is worse.
A Short Walk-Through Before the First Sustained Freeze
Put the whole job in order and it is mostly looking and clearing. Walk the deck in this sequence, and check each item off as you go:
- Clear every board gap until water falls through, and rake leaves out from under the deck.
- Clear the flashing and ledger line, and look for debris bridging over it.
- Inspect the reachable hardware with a flashlight — screws, hangers, post bases, railing brackets — and photograph any rust, residue, or loose fasteners.
- Decide on the de-icer before the first storm, keeping the hardware in mind, and note the spring rinse on the calendar now.
- Move furniture, grills, cushions, mats, and rugs off the deck; lift any planter that has to stay.
- Only then decide about a cover — breathable and raised, or no cover at all.
Nothing on that list needs a second trip to the store. It is mostly looking and clearing, and it helps a deck come out of winter without a long repair list.
Local Reality Check
Here is the Greater Boston version of this story. Our winters do not just bring snow; they bring the melt-and-refreeze cycle, sometimes several times in a single week, and that cycle is what turns a small winterizing miss into real damage. October and November pack every board gap with oak leaves, then December through March buries the deck in snow that melts on sunny afternoons and refreezes overnight on top of that packed debris. A gap clogged in November becomes a moisture trap for the whole season. And the chloride load is real here too: the same melt season that keeps our walkways passable is the season our snow clearing guide warns about, because treated snow melting across a deck is a chloride bath for the hardware underneath it. The pre-freeze walk-through above is built for exactly that winter: clear the drainage before the leaves finish falling, look at the hardware before the first bag of melt goes down, and let the deck dry between storms instead of sealing the damp in.
Frequently Asked Questions
When should I winterize my deck in Boston?
Before the first sustained freeze, while you can still work on a dry deck — for most years that means finishing the walk-through during the fall, before the snow season settles in. The drainage and hardware checks are the time-sensitive parts; furniture can follow, but clogged gaps and unseen hardware cannot wait until spring.
Should I cover my deck for the winter?
Usually not with a solid tarp, which traps moisture underneath and makes freeze-thaw damage worse. A breathable cover raised above the surface, with air moving underneath, is the exception. A deck with clear drainage that is left to dry between storms is often the better choice.
Can I leave the furniture and grill out all winter?
You can, but anything sitting on the deck traps moisture beneath it for months. Store what you can in a garage or shed; lift planters that must stay so air reaches the boards underneath, and take mats and rugs off the surface.
What about ice melt — will it hurt the deck?
It is hard on the metal, not just the boards. Chloride salts corrode screws, hangers, and brackets, and the damage hides until it shows as rust or loosening. Use melt sparingly, keep it off the hardware where you can, and rinse the hardware areas in spring. Our hardware piece and our snow clearing guide cover the details.